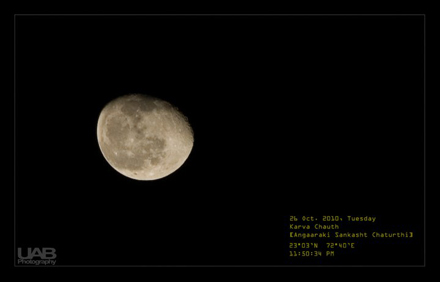
I have always been amazed by the fantastic pictures of moon taken by my friends, like the one shown above. Whenever I see a full moon while walking back to my room after office hours, I used to curse myself for not taking my camera along. After a couple of misses, I was waiting for my next chance. Next time, oh, the next time I made sure I clicked one (As a matter of fact, many). This post is about this attempt and the lessons learned thereby.
Necessity
A moon!
As you might have guessed you will need a moon to start with. The fuller, the better. Mount your DSLR on a tripod and attach the best zoom lens you have got. I was using Nikon D90, Tamron 18-250mm and Harrison Tripod for the shoot.
On The Field
Being a newbie has its advantages. Newbies are always ready to experiment and learn even if it is the hard way.
Myth
Its 11PM. So I need a slow shutter to capture the moon.
Shot 1
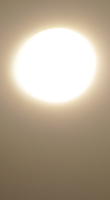 | EXIF Data ExposureTime: 5s FNumber: 6.3 ISO: 200 FocalLength: 250.0 mm Obviously I am wrong. My settings are all wrong! |
Shot 2
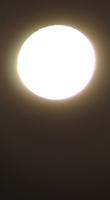 | EXIF Data ExposureTime: 1s FNumber: 6.3 ISO: 200 FocalLength: 250.0 mm Hmm. Is photographing the moon just like the ‘day light’ photography? |
Shot 3
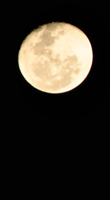 | EXIF Data ExposureTime: 1/100s FNumber: 6.3 ISO: 200 FocalLength: 250.0 mm Yes! Full Moon photography is indeed like the day light photography. |
Shot 4
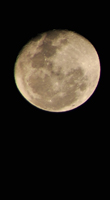 | EXIF Data ExposureTime: 1/400s FNumber: 6.3 ISO: 200 FocalLength: 250.0 mm Ok. I am almost there. Now I need a steady shot and then I can pack my bag. |
Learn The Basics
Later I found more details of the phenomenon I observed from the DPS article titled “Moon Photography Made Simple” where a user named ‘bmc’ gives the following explanation. (Reproduced here with the permission of DPS)
The Moon is giving off more light than you think!
Here’s a few tips if you’re just trying to capture a ‘moon shot’. The Moon is giving off more light than you think. Even during the darkest time of night, capturing a full moon and it’s details without blowing it out requires settings pretty close to “daytime” conditions.
Looney 11 Rule
There is a “Looney 11″ rule that gives you a starting point with your settings: f/11 with a shutter speed of 1/ISO. So, if using an ISO of 400, use a shutter speed of 1/400. Just fine tune from this starting point. If you want to use a larger aperture, your shutter speed will be shorter, a smaller aperture and shutter speed will be longer. When The Moon is less than full, your shutter speed will become longer as The Moon becomes ‘less’.
I think for most of us, our natural reaction at first is to get a shot of the full moon. These can be some great images with nice detail of the light and dark areas.
But the full moon is the time when the Sun is hitting the Moon straight on, flattening out all of the 3D details (think pop-up flash). At half moon and less, the 3D details of craters really start to show, especially along the line between the shadow and light and near the edges of the Moon.
Just remember that you will have to increase exposure from your full moon starting point as less of The Moon is ’shining’.
Following pics illustrate the point.
Now my click!
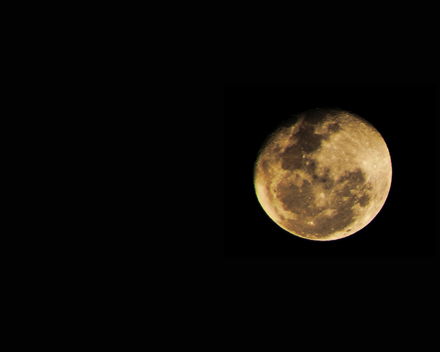

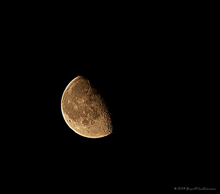

Awesome!
Easier way is there for a newbie. Use spot metering, point at the moon and shoot.